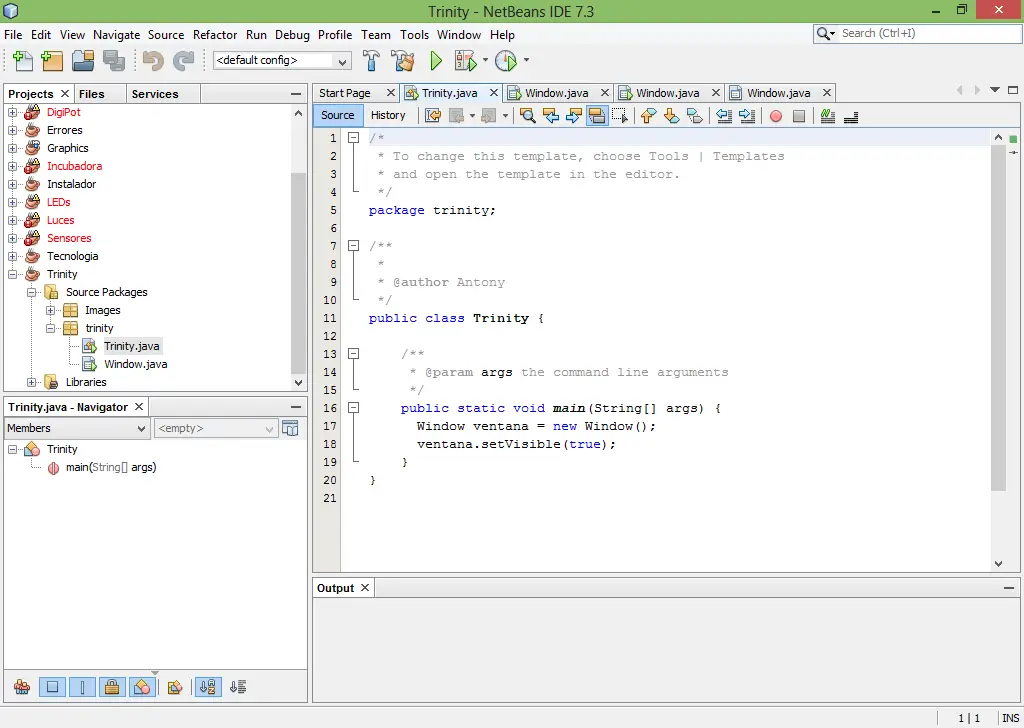
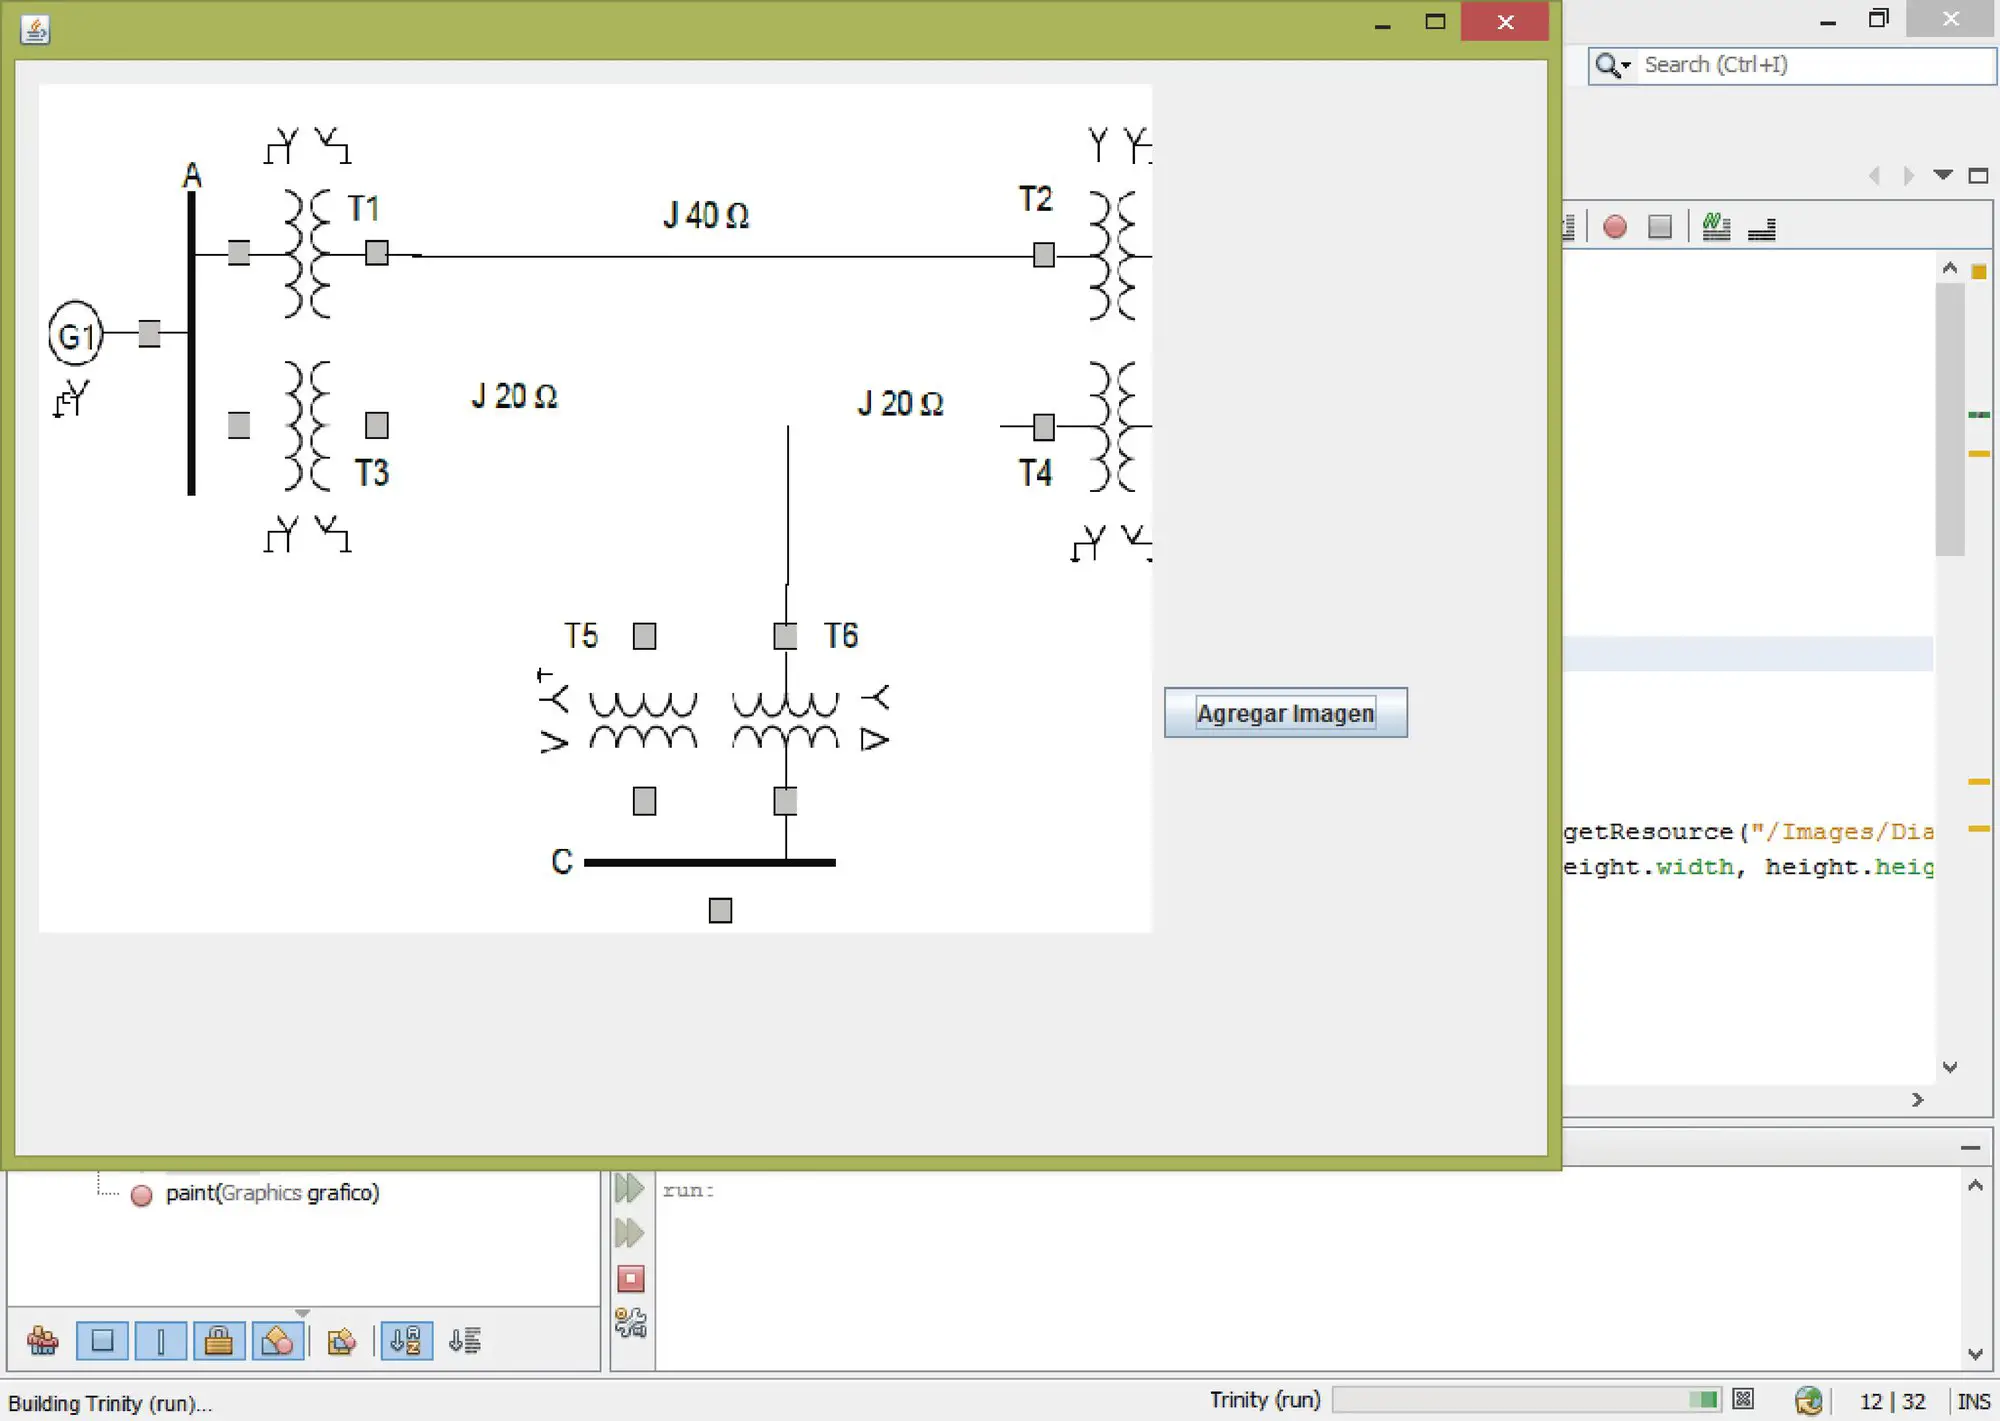
As part of the process of creating an application, today I share a technique to insert an image into a jPanel in Java. The first thing I will do is create a new project in Java. I will keep the main class (Java Class) and add a jFrame which I will call Window. From the main class I will call the Frame upon execution.
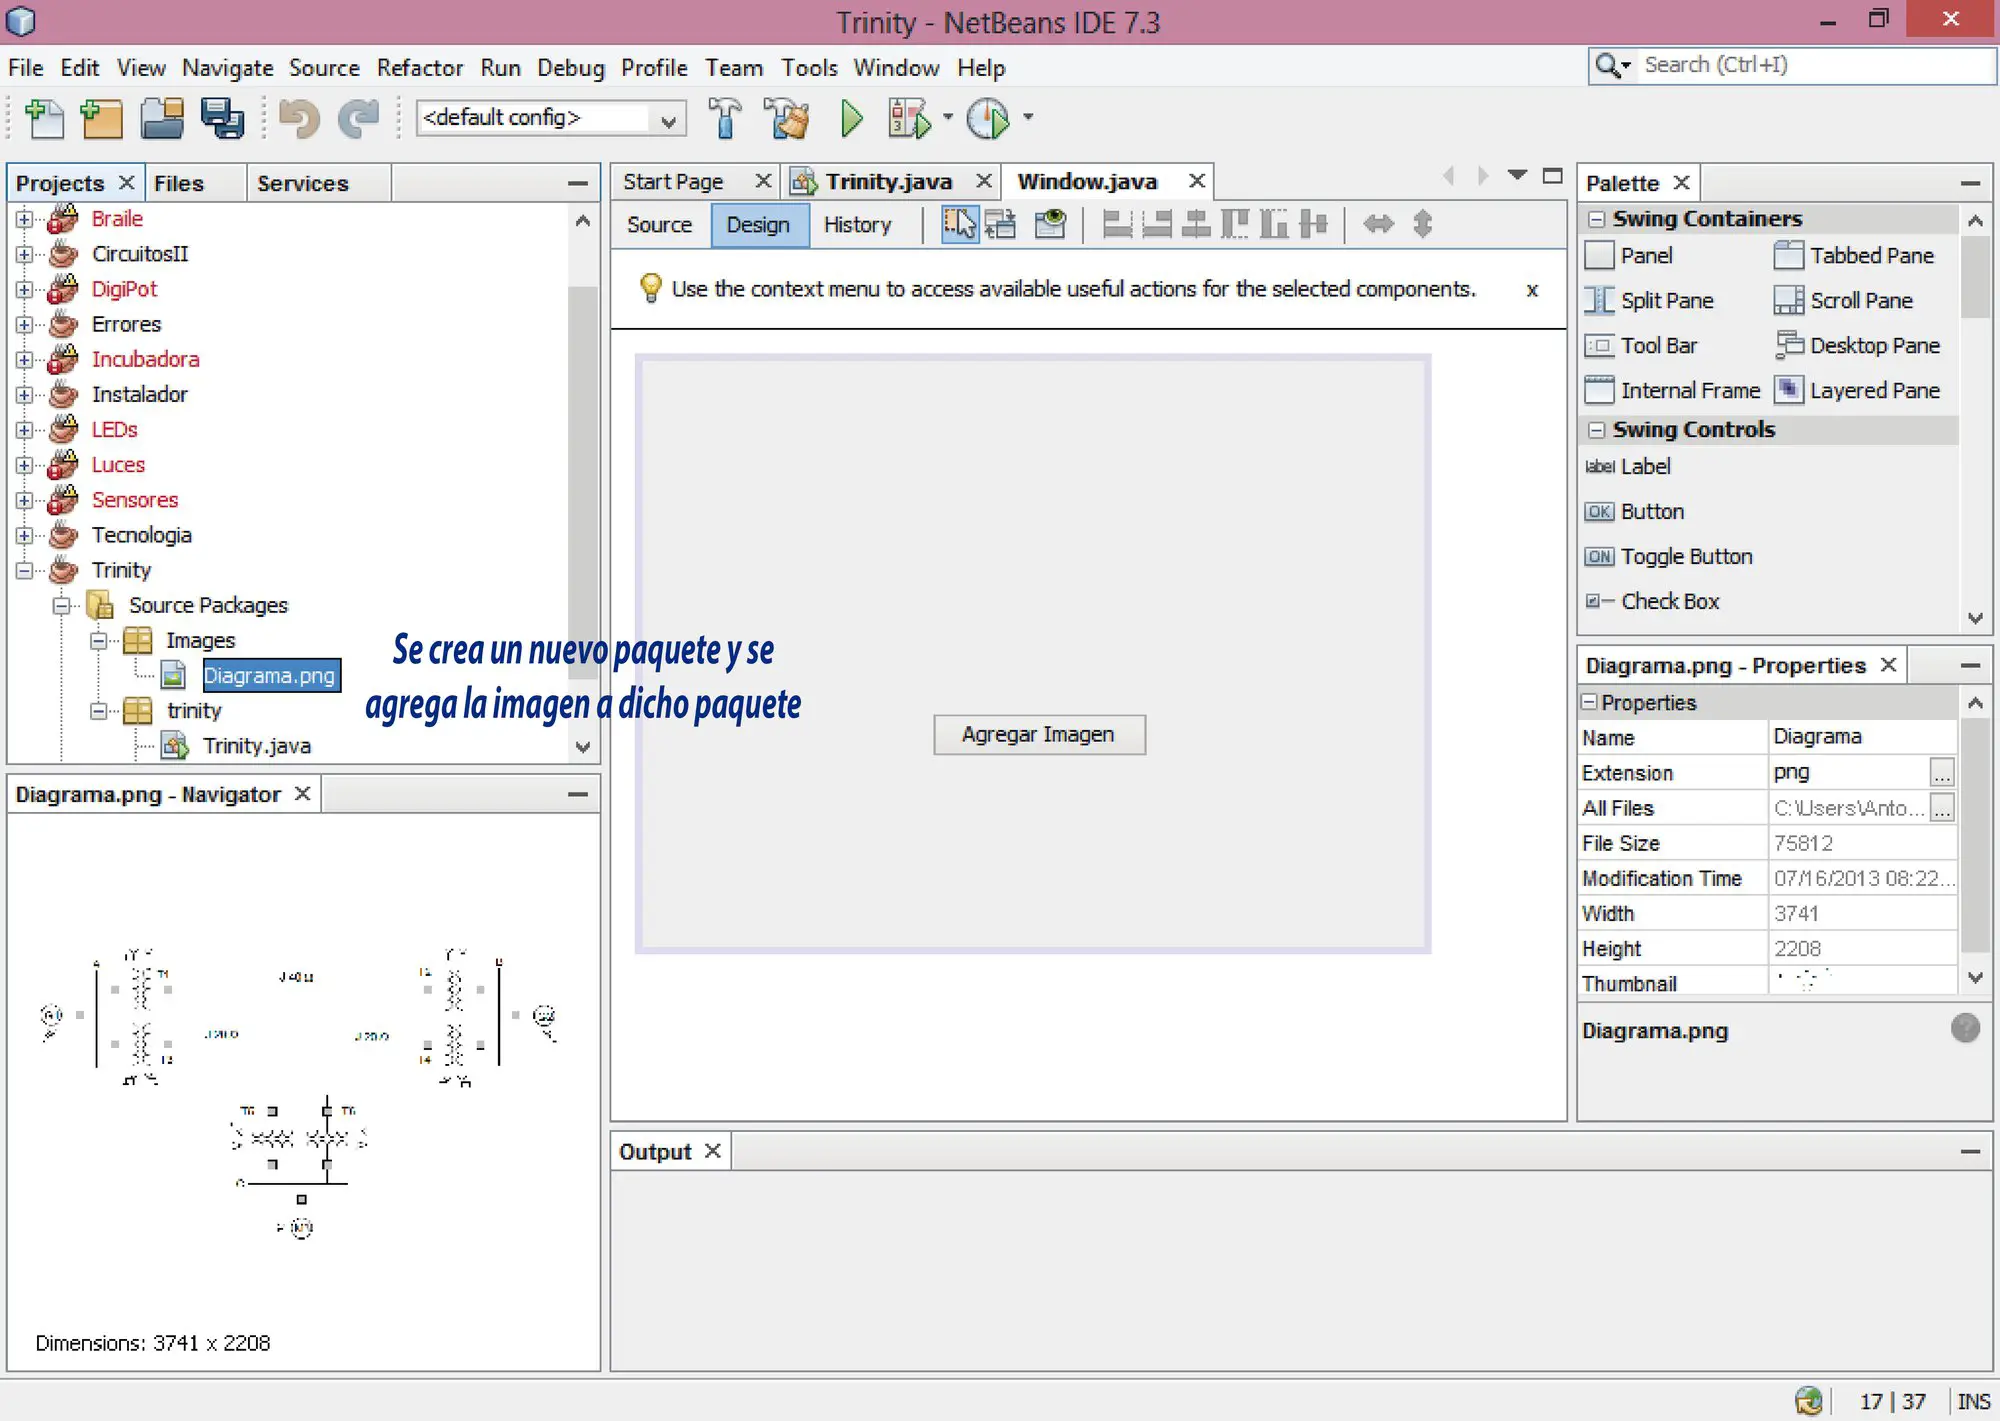
Now in the Frame we will add a Panel and a button. When we click the button an image will be added to the panel.
We create a package within the project and drag the image that we want to place inside the panel in the package. It can be dragged from any folder outside of Netbeans where we have it saved.
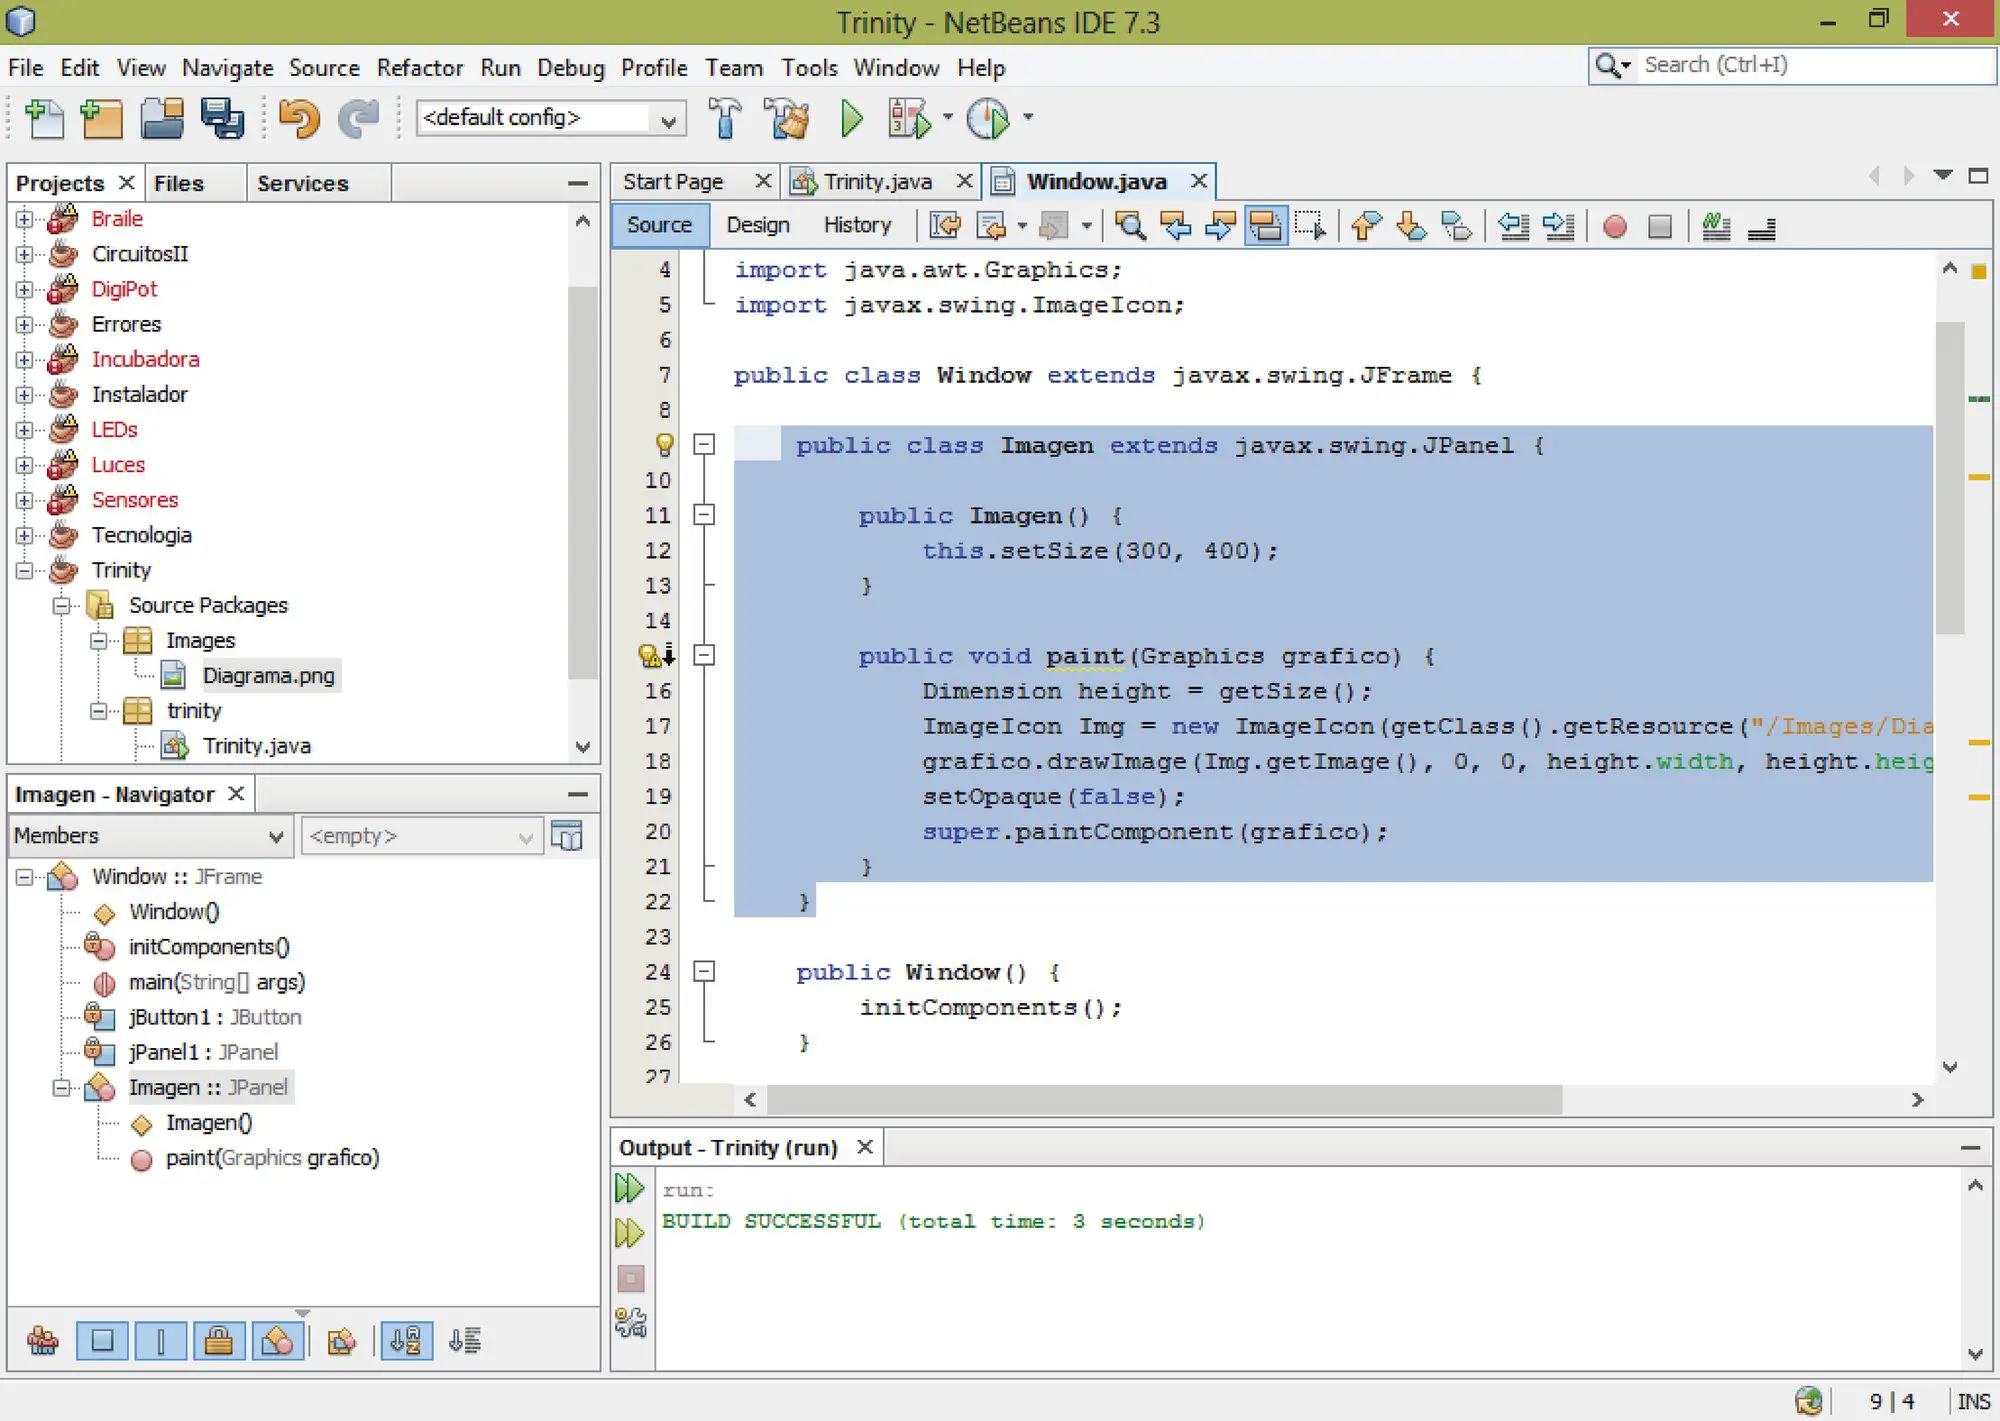
Now we go to the programming. Inside the Window code, we create a new class called Image in which we will place the following code:
|
1 2 3 4 5 6 7 8 9 10 11 12 13 14 15 16 17 18 19 20 21 22 23 |
public class Imagen extends javax.swing.JPanel { public Imagen() { this.setSize(300, 400); //se selecciona el tamaño del panel } //A method is created whose parameter must be a Graphics object public void paint(Graphics grafico) { Dimension height = getSize(); //The image that we have in the package is selected from the program path ImageIcon Img = new ImageIcon(getClass().getResource("/Images/Diagrama.png")); //the image we have in the Images package is drawn inside a panel grafico.drawImage(Img.getImage(), 0, 0, height.width, height.height, null); setOpaque(false); super.paintComponent(grafico); } } |
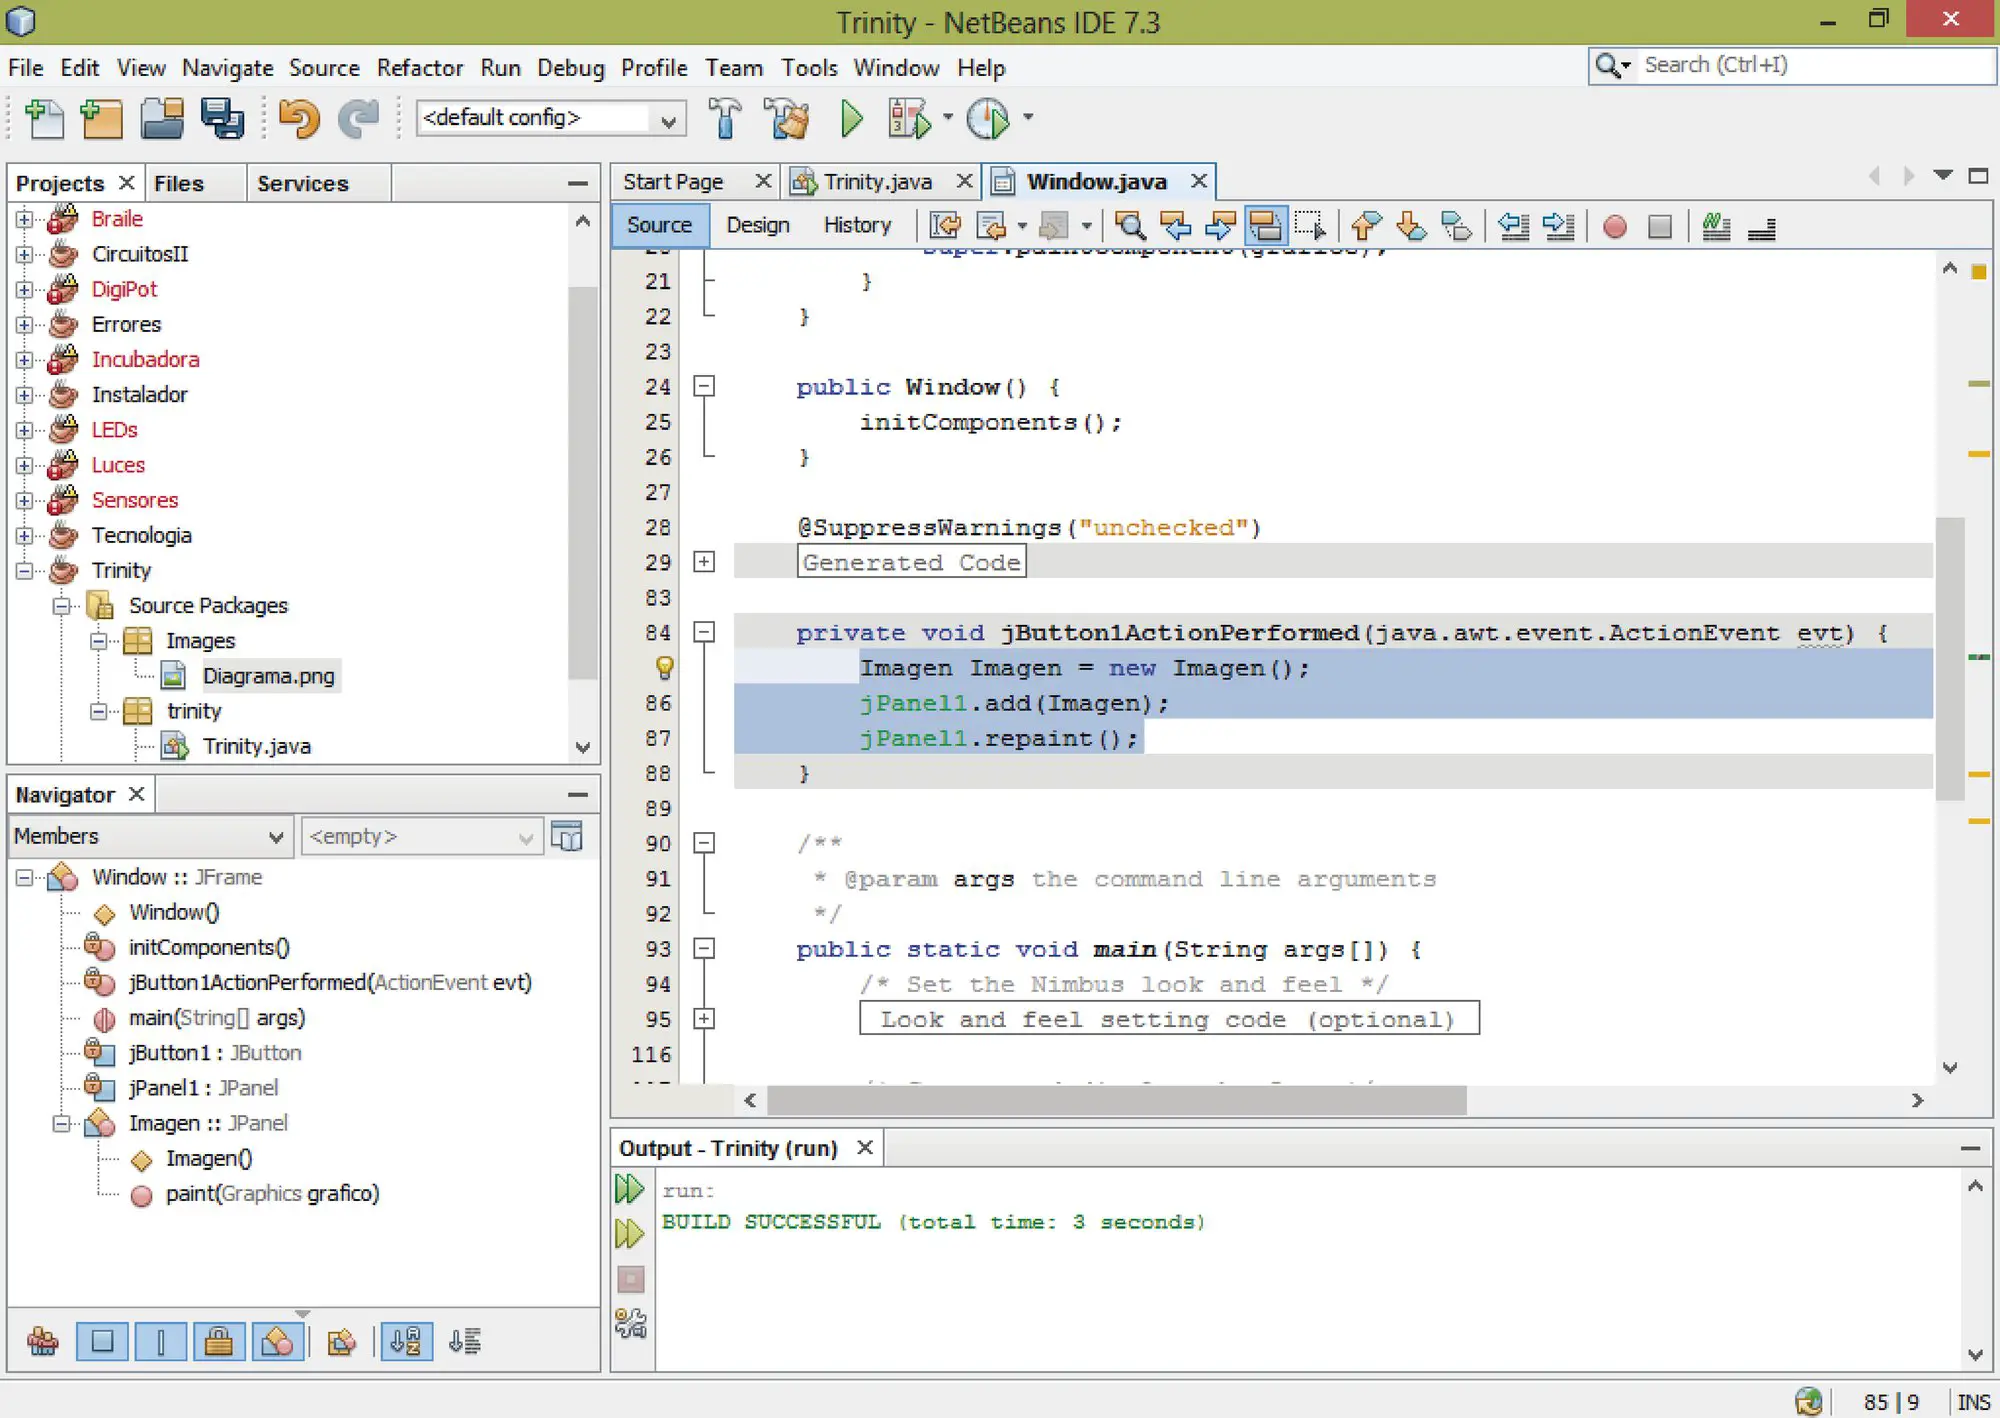
With this class we have most of the programming ready. Now we go to the button that we will click to add the image to the panel and place the following:
|
1 2 3 |
Imagen Imagen = new Imagen(); jPanel1.add(Imagen); jPanel1.repaint(); |
With this we can execute our program and when we click on the button that we place, the image that we added will appear in the panel.
That is all for now. If you have any questions, please use the comment box. Thanks.


